

 EN
EN
 AR
AR CS
CS DA
DA NL
NL FI
FI FR
FR DE
DE EL
EL IT
IT JA
JA KO
KO NO
NO PL
PL PT
PT RO
RO RU
RU ES
ES SV
SV TL
TL IW
IW ID
ID LV
LV SR
SR SK
SK VI
VI HU
HU MT
MT TH
TH TR
TR FA
FA MS
MS GA
GA CY
CY IS
IS KA
KA UR
UR LA
LA TA
TA MY
MY
Il-Grease Huwa l-Istorja Kollha — Ħlief Meta M’Iżda
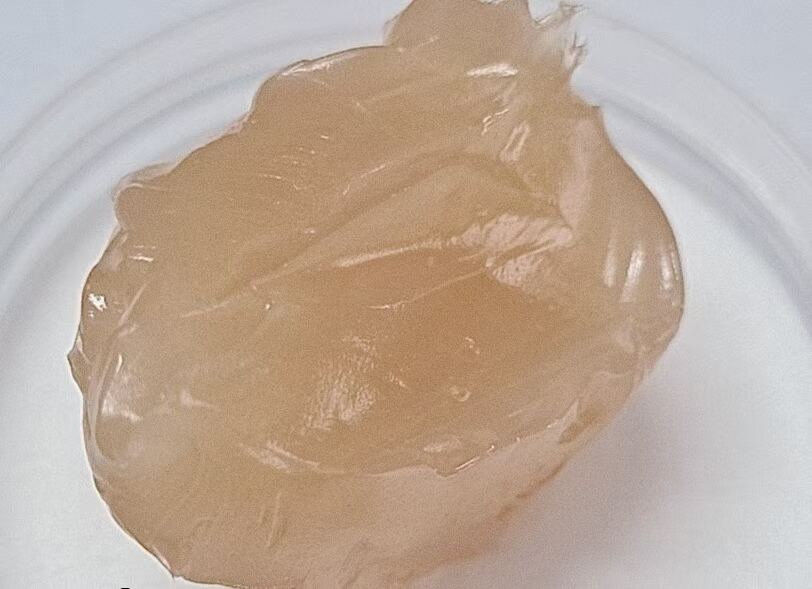
Jekk trid tagħmel ħaġa waħda għall-maintenanza tal-ħammar idrauliku, din għandha tkun it-taħżin bil-grease. Ħlief il-biża‘ li jqa‘ fuq ir-rokk, ma jkunx hemm żona ta’ usura ikbar fis-silta minn fejn l-istrument jilqa’ bil-bushings. Dan huwa veru. Iżda dan huwa wkoll suġġett incompleto, għalkemm it-taħżin bil-grease korrett mingħajr monitorja tal-bushings, u l-monitorja tal-bushings mingħajr li tkun taf meta għandek tirripliċahom, għaddejja jprodduku eżerċizzji li jiffrakku aktar malajr minn kif għandhom.
It-ta’ l-grease huwa aktar importanti minn kif il-biżnissa tal-biżnissa jifhmu. Il-grease għall-karozza ġie ddisejna għal kontatti b’mal-bażza ta’ ħaġa, b’angolu baxx bejn superfici li jkunu imseħħin jew protetti bil-bearings u mingħajr impatt. Xejn minn dawn il-kundizzjonijiet jiddeskrivi l-istrument tal-brekker idrauliku li jaħdem b’400–1,400 ħabba fil-minuta. Il-grease standard għall-karozza jisħen immedjatament fit-temperaturi ta’ operazzjoni tal-brekker, li jwassal għall-kontatt ta’ stejjel-bistejjel u għall-mikro-welding bejn il-bażi tal-istrument u l-buża tal-bore. Il-pasta għall-istrumenti b’basi ta’ molibden (molybdenum disulfide) b’partiċelli ta’ rame u grafita hija l-prodott ċert: il-partiċelli jidhru bejn is-superfici bħala ball bearings mikroskupiċi u l-pasta hija suffiċjenti b’suffiċjenza biex tibqa’ f’postha bejn it-ta’ tal-grease, kontrarju għall-grease likwidu li jinżel ħafif ħafif fi ħames minuti wara l-bidu tal-operazzjoni.
Jeżistu wkoll pożizzjoni għall-imbagħad li ħafna ħadd ma jiktbux dwarha iżda kollha dawk li jservizzjaw il-brekkeri jafu li hija importanti: imbagħad id-dawra dejjem bil-karrier li jippremji ‘l isfel fuq l-istrumentu f’pożizzjoni vertikali, bil-istrument estiż. Jekk l-imbagħod jiġi applikat bil-istrument ritrat — f’pożizzjoni li tibda tifhem bħala l-eżerċizzju iżda aktar ħażin — il-pasta tisba bejn it-tajjeb tas-saħħa tal-istrument u l-wiċċ tal-pistun. Meta l-pistun jilqa’ ħdejn għalkemm, din il-pasta mmexxija ma tikkumprima xejn; issa tibda ta’ wedġe idroliku li jikser l-istrument, il-pistun, jew it-tnejn flimkien. Il-pożizzjoni korretta tieħu tliet sekondi iżda. Din tissaħħa wkoll riparazzjoni li tkun kostata ħames darbiet il-biljan annwali għall-imbagħod.
Intervalli ta’ Maintenanza — Liema ħaġa għandek tagħmel, Kif tagħmelha, u Għala dan it-timing
It-tabella ġewwa tissettja l-ħames intervalli ta’ maintenanza għall-ħażina u l-bużżin, il-kompitu speċifiku f’kull intervall, id-dettalji proċedurali li jiddeterminawu jekk il-kompitu ġie mekkur korrettament, u s-sors għal kull suġġeriment.
|
Interval |
Missjija |
Kif u Għaliex (id-dettall li jiddetermina s-suċċess) |
Soġġettiva |
|
Kull sagħtejn ( matul l-operazzjoni) |
Applika l-pasta tal-ħasil / xaħam tal-molie fuq il-qiegħ tal-għodda |
Il-grass f'pożizzjoni vertikali b'trasportatur li jippressa fuq l-għodda. 1015 pompa għal għodod sa 75 mm dijametru; 20 pompa għal għodod aktar minn 100 mm. Qatt ma tbaxxa l-għodda b'mod li l-pjattaforma tkun imġarrba lura il-pjattaforma bejn il-wiċċ tal-piston u t-tarf tal-għodda se tiffriżwa waħda jew iż-żewġ. |
Il-gwida fil-qasam tal-Gorilla Hammers; il-gwida tal-manutenzjoni BEILITE |
|
Il-bidu ta' kull varjetà (kuljum) |
Spezzjoni viżwali: żejt madwar l-għodda, il-kundizzjoni tal-pajp, il-ħxuna tal-bolt; iċċekkja l-ponta tal-ħasil għal fjammi jew xquq; kun żgur li l-ħalib fil-biċċa tal-ġilda huwa ċar |
Jekk tiċċekkja l- ħwejjeġ tiegħek għal ħames minuti fil- bidu tal- ġurnata, tistaʼ tiffranka sigħat minn ħsarat u tiswijiet. Uża ħjut mingħajr ħjut biex timsaħ il-qiegħ tal-għodda fdalijiet tal-metall li jimbrillaw fil-grass jindikaw li l-bżieżaq tal-busta qed jibda jissaħħaħ. |
Pit & Quarry / Brokk gwida tas-servizz |
|
Ġimgħa (kull 50 siegħa) |
Tord ma' bultijiet li jgħaddu mis-sistema skont is-spesifikazzjoni; iżda l-bużżun ħiżżin; nekkles il-baġħa barrani tal-brekker; iċċekkja l-ġuntijiet tal-ħobż għall-abrazzjoni |
Iċċekkja l-bużżun ħiżżin: ipprova li tissegħel bit-tajjara ta’ 3/16 pulzier (≈5 mm) bejn il-ġurnata tal-istrument u l-bużżun. Jekk tissegħel, il-bużżun qed jibda jwarrak. Biddel qabel ma l-baħar jasal għall-warrigħ sħiħ — strument li jkun ħeżżin jifforma l-pistun b’angolu. |
Gwida għall-warrigħ tal-bużżun għall-biżut u l-quarriji |
|
Minn ħames-il darba fis-sena (kull 200–250 siegħa) |
Neżżel il-ħażżan; iżda l-ġurnata għall-iskorjar, il-warrigħ tal-qofra tal-ġurnata li tħażżen; immisura l-diżjan intern tal-bużżun f’tliet għoli; iċċekkja l-prezzjoni tan-nitroġenu tal-akkumulatur |
Misura tal-bużżun: ħu l-qari 50 mm mis-soltu, fil-bieb, u 50 mm mis-soltu. Biddel bil-bużżun meta l-baħar ikun 1,0 mm — mhux meta jkun 1,5 mm, li huwa n-nuqqas, mhux il-punt fejn ikun meħtieġ li jibdel. Iċċekkja wkoll il-kulur tal-ojl: iswed = sfaldament termiku; ħażin = kontaminazzjoni b’ilma — biddel qabel li tibda mill-ġdid. |
Gwida għall-mantneniment ta’ BEILITE |
|
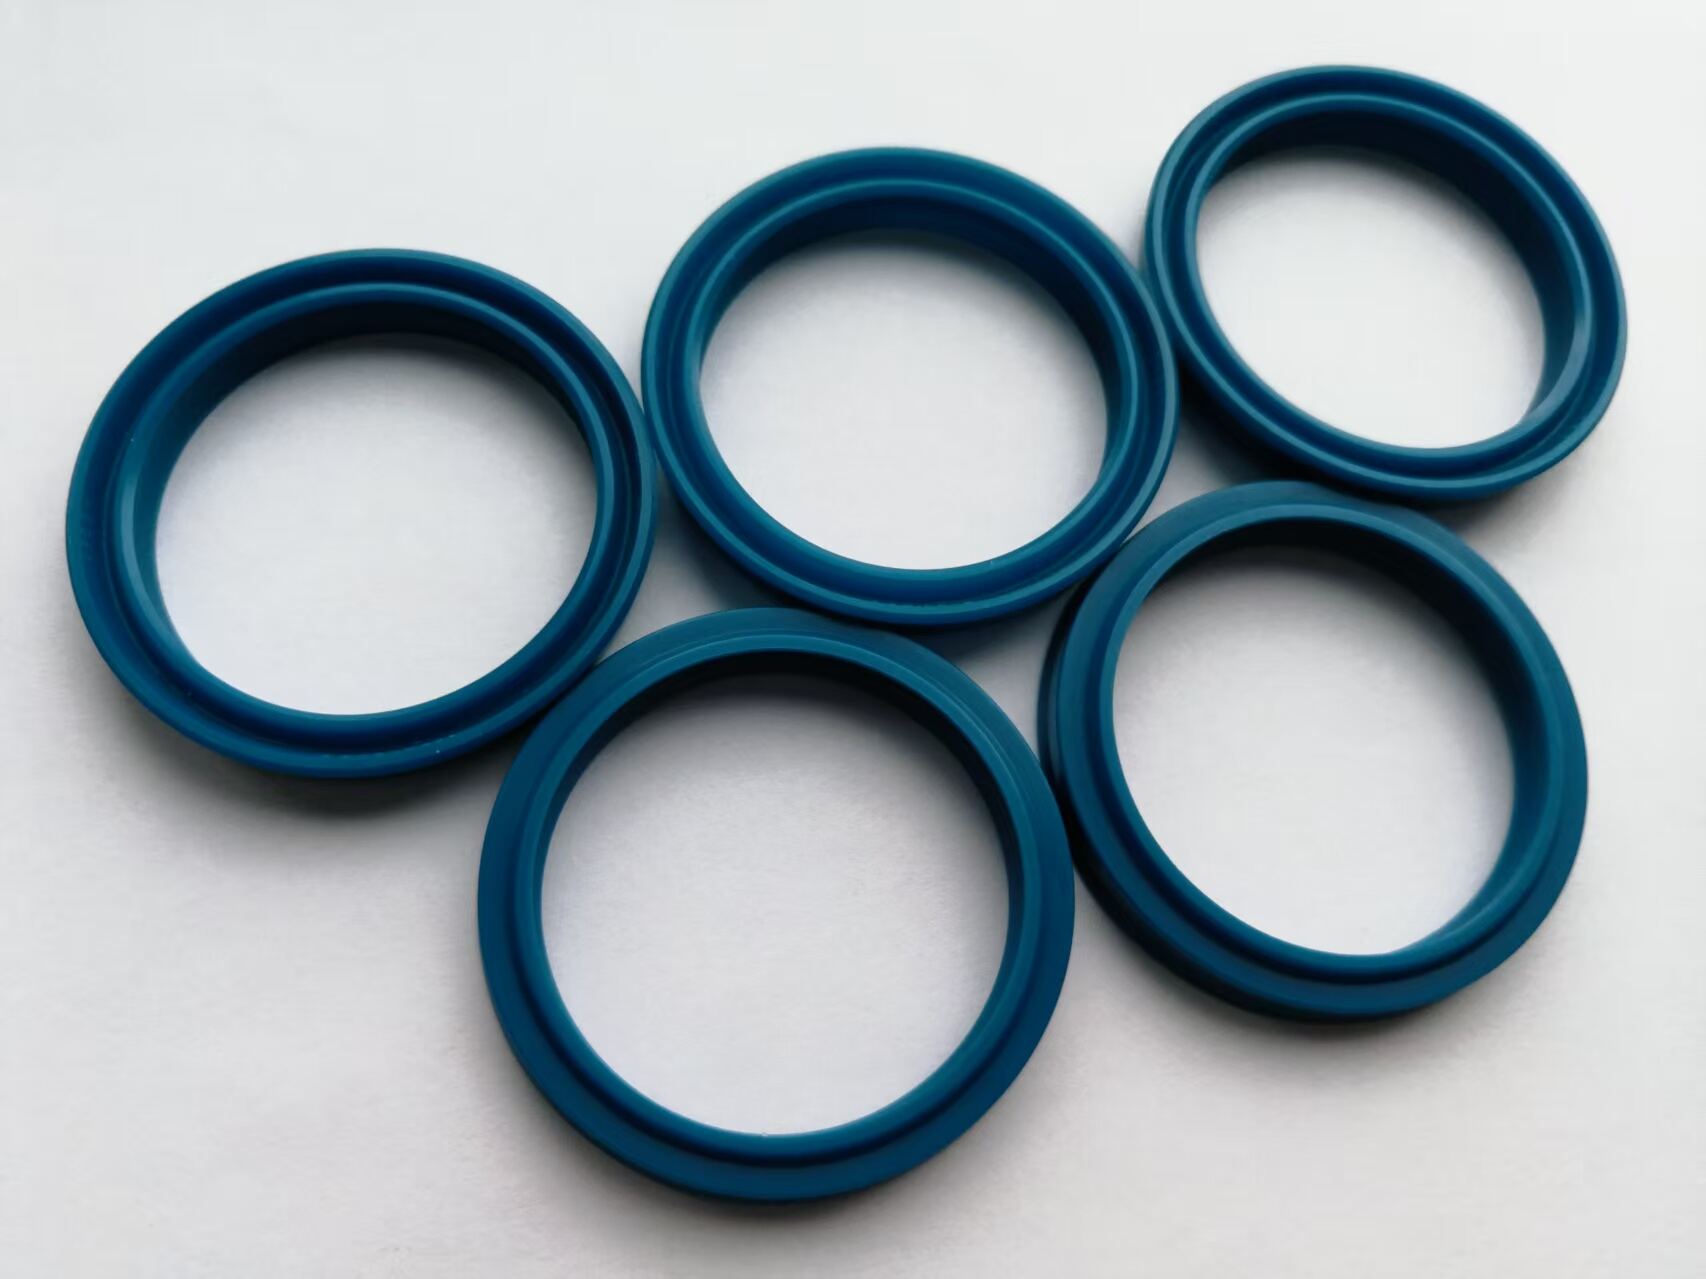
B’d-dibdil (meta jasal għall-limitu tal-warrigħ) |
Biddel il-biżżella meta t-tarf ikun ħarig ħafna ħafna ħares lejn il-limitu ta’ użu tal-biżżella oriġinali, meta l-bażza turi diskolorazzjoni blu/aħmar minħabba s-sħana, jew meta jidher kriżi f’kull post |
M’hemm li jinħadem it-taħdija — dan jibdel il-ġometrija tal-istrument u jneħħi l-żona imħarrka fit-tarf. Biżżella li ġiet ħadta mill-ġdid għandha l-bażza tajba esposta fit-tarf: tħarreġ ħafna ħafna ħares fuq il-granit. Meta t-biżżella tidħol, idħol biss il-kit sħiħ: pinijiet ġodda ta’ ħażża, inspezzjoni ġdida tas-silġ tat-tajjeb tal-ħobż, applikazzjoni ġdida ta’ ħamr fuq kull superficje ta’ kuntatt |
Gwida għall-biżżelli ġodda ta’ BEILITE & Huilian |
Il-Katina–Biżżella Cascade — Għala waħda mis-silġiet li ġew użati jiddestruji l-istess u l-biżżella
Il-biża bejn it-tħaddim tal-bushing u l-ħajja tal-ħaġra hija waħda b'direzzjoni u ħafna ħafna. Meta l-bużżun tal-bushing ikun fit-taħdid, l-istrument jibda b'mod rettu: il-pistun jiffranka l-bidu tas-sħan tas-sħan bil-mod rettu, kollu l-biża tal-impatt tittrasferi fil-materjal, u l-parti ta’ fuq tas-sħan tħaddem b’taħdid preddettibbli u gradwali. Meta l-bużżun tal-bushing jikber ħalas mill-punt li għandu jiġi biddel — li BEILITE iddefinixxa bħala 1,0 mm, u mhux 1,5 mm — l-istrument jibda jibżegħ f’kull strock. Il-pistun ma jiffranka x’aktarx bil-mod rettu; jilqa’ fuq l-istrument b’angolu ż-żerda. Dan l-angolu jipproduċi ħamla lateral f’kull impatt, li tikkonċentra l-isforzi fil-żona ta’ kontatt bejn il-parti ta’ fuq tas-sħan u l-bushing u fuq il-wiċċ tal-pistun. Il-misallim jikkawża li l-pistun iffranka l-istrument b’angolu, li jweġġiġ il-pistun jew iżda l-falliment tal-istrument.
Is-silġa ta' falliment hija preddiżzjubbli. It-tħassus tal-bušin jiftoħ għal 0,8 mm — l-istrument jibda għadu jemmel, b’effiċjenza ħażina iżda ħażina. Jilħaq 1,0 mm — il-punt fejn is-sostituzzjoni hija meħtieġa; il-biżżeft ta' operaturi ma jf’agixxu x’aktarx hawn għalkemm il-brekker jibda għadu jemmel b’mod funzjonali. Jilħaq 1,5 mm — il-limitu totali tat-tħassus — il-biżżekk tal-istrument issa huwa sever li l-imma’ ħajja tas-sid ta’ aċċelerazzjoni fuq il-wiċċ tal-pistun ibda jipproduċi mikro-fratturi fis-steel. Bil-waqt li l-operatur jara s-simptomi — BPM inkonsistenti, bħala ta’ impatt imbidla, skorinġ vizzwali fuq il-wiċċ tal-pistun — id-dannu ġà ġie ffatt. Il-punt ta’ sostituzzjoni ta’ 1,0 mm jeżistu speċifikament biex jiġu ċċekkjati l-bušin qabel ma jdannu l-pistun, u mhux biex jimmarkaw il-punt fejn il-bušin stess ġie finalment iffallit.
Il-ħduma f'temperaturi baxxi żda risku speċifiku li l-programmi ta' manutenzjoni li jiddependu biss mis-soltu ma jinkludux. Il-bis-kulur għandu ħaġa brittli — l-istil 42CrMo f'temperaturi ta' is-soltu għandu ħaġa inqas ħażin, partikolarment fit-tarf fejn il-żona imħarrba hija it-tajjeb. Il-ħduma bil-martell bil-frekwenza massima kontra materjal ħażin b'biskulur ħarrus tista' tikkawża fratturi fit-tarf jew kriżi lateralijiet li ma jkunux se jseħħu f'temperatura ta' ħduma. Il-proċedura korretta għall-bidu f'temperaturi baxxi hija ħames minuti ta' ħduma bil-frekwenza baxxa kontra art soft — lesta paviment, lesta konkrit — biex iżdadd it-temperatura tal-istil qabel il-bidu tal-ewli ħaġa ħażina. Dan iżda ħames minuti mal-bidu tat-turn. Dan jippreveni frattura fil-bis-kulur fuq il-buldur ewli tal-bongu.