

 EN
EN
 AR
AR CS
CS DA
DA NL
NL FI
FI FR
FR DE
DE EL
EL IT
IT JA
JA KO
KO NO
NO PL
PL PT
PT RO
RO RU
RU ES
ES SV
SV TL
TL IW
IW ID
ID LV
LV SR
SR SK
SK VI
VI HU
HU MT
MT TH
TH TR
TR FA
FA MS
MS GA
GA CY
CY IS
IS KA
KA UR
UR LA
LA TA
TA MY
MY
Preparation Steps
Check for damage like scratches or cuts on surfaces to prevent failure and leakage.Use lint-free cloths to clean seals and tools,removing dust,chips,dirt,and other particles that could affect sealing performance.Avoid sharp corners and burrs to minimize surface damage.Apply lubricants such as petroleum-based,silicone grease or oil,barium grease,or fluorocarbon fluid to prevent abrasion and enhance durability;select a lubricant compatible with the seal's raw materials.Heat seals to improve elasticity and soak in hot lubricant to soften;do not exceed temperature limits or heat when stretched to avoid damage and size reduction.Sharp edges must be deburred,rounded,and chamfered according to specific installation requirements.Threads,guide ring grooves,and other surfaces must be covered,as seals cannot be pushed through grooves,drilled holes,or rough surfaces.Dust,dirt,debris,and other foreign matter must be carefully removed.The cylinder,piston,piston rod,and seal must be oiled and greased before installation, taking into account the compatibility with the sealing medium.Tools used for installation must be made of soft material (such as polyamide)and have no sharp edges.
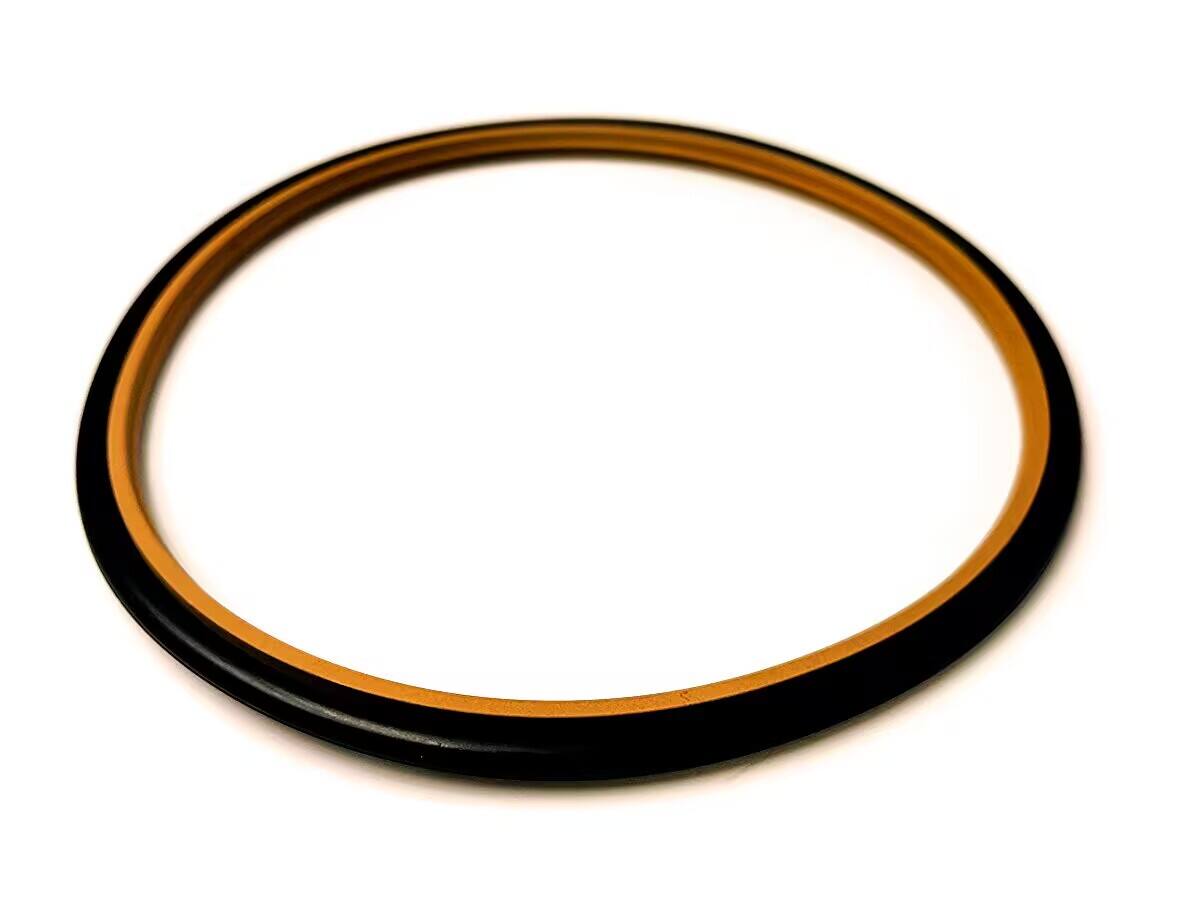
Installing Glyd Ring(Piston Seal)
Glyd rings are piston seals.Generally,the O-ring is installed first,followed by the Glyd ring's wear ring.Smaller sizes are typically installed directly.First,heat the ring with oil,but keep the oil temperature low.Once the wear ring softens,slide it onto the shaft and then cool it.Larger sizes of Glyd rings require a tapered sleeve,which is pushed from the small end to the large end until it is seated in the groove.GLYD®rings used by Sun are Teflon®based and require special care to install properly.Specialized tooling may be needed to properly stretch and then re-size these rings without damaging them.When installing the O-ring,please do not pull it to the point of permanent deformation,and do not roll it while installing it.You need to lower it gently to avoid twisting and leaking oil.
Installing Step Seal (Rod Seal)
Step seals are rod seals,also installed with the O-ring first,followed by the step seal's wear ring.Heat the wear ring,then slide it onto the shaft and let it cool.When installing the wear ring,press it slightly inward along its diameter before installing it into the groove and smoothing out any deformation.When placing the shaft,be sure that the shaft is fully seated in the wear ring.
Common Mistakes and How to Avoid Them
To avoid damage to the sealing lip and potential leakage before full operation,extreme care must be taken during installation.Ensure that the guide band does not get stuck on the shaft,as this could squeeze out of the groove and damage the step seal.In heated oil or hot water(approximately 80C-120℃),seals can easily expand and return to their original shape.Employ appropriate tools to prevent denting or damage to parts and seals.
|
Step |
Key Action |
Precaution to Avoid Mistakes |
Source Note |
|
Preparation |
Clean surfaces, deburr edges, lubricate |
Remove all dirt; cover sharp threads |
Gallagher Seals, TYS Seals |
|
O-Ring Installation |
Install first, lower gently |
Do not twist or overstretch |
DMS Seals, TYS Seals |
|
Wear Ring (Glyd/Step) |
Heat and slide on, use tapered sleeve if large |
Cool after sliding; press inward evenly |
TYS Seals, Sun Hydraulics |
|
Final Assembly |
Seat fully, smooth deformation |
Avoid sticking guide band on shaft |
TYS Seals |
|
General Care |
Use soft tools, compatible lubricant |
No sharp edges on tools |
Gallagher Seals, TYS Seals |