

 EN
EN
 AR
AR CS
CS DA
DA NL
NL FI
FI FR
FR DE
DE EL
EL IT
IT JA
JA KO
KO NO
NO PL
PL PT
PT RO
RO RU
RU ES
ES SV
SV TL
TL IW
IW ID
ID LV
LV SR
SR SK
SK VI
VI HU
HU MT
MT TH
TH TR
TR FA
FA MS
MS GA
GA CY
CY IS
IS KA
KA UR
UR LA
LA TA
TA MY
MY
Which Seals Can Be Changed in the Field — and Which Cannot
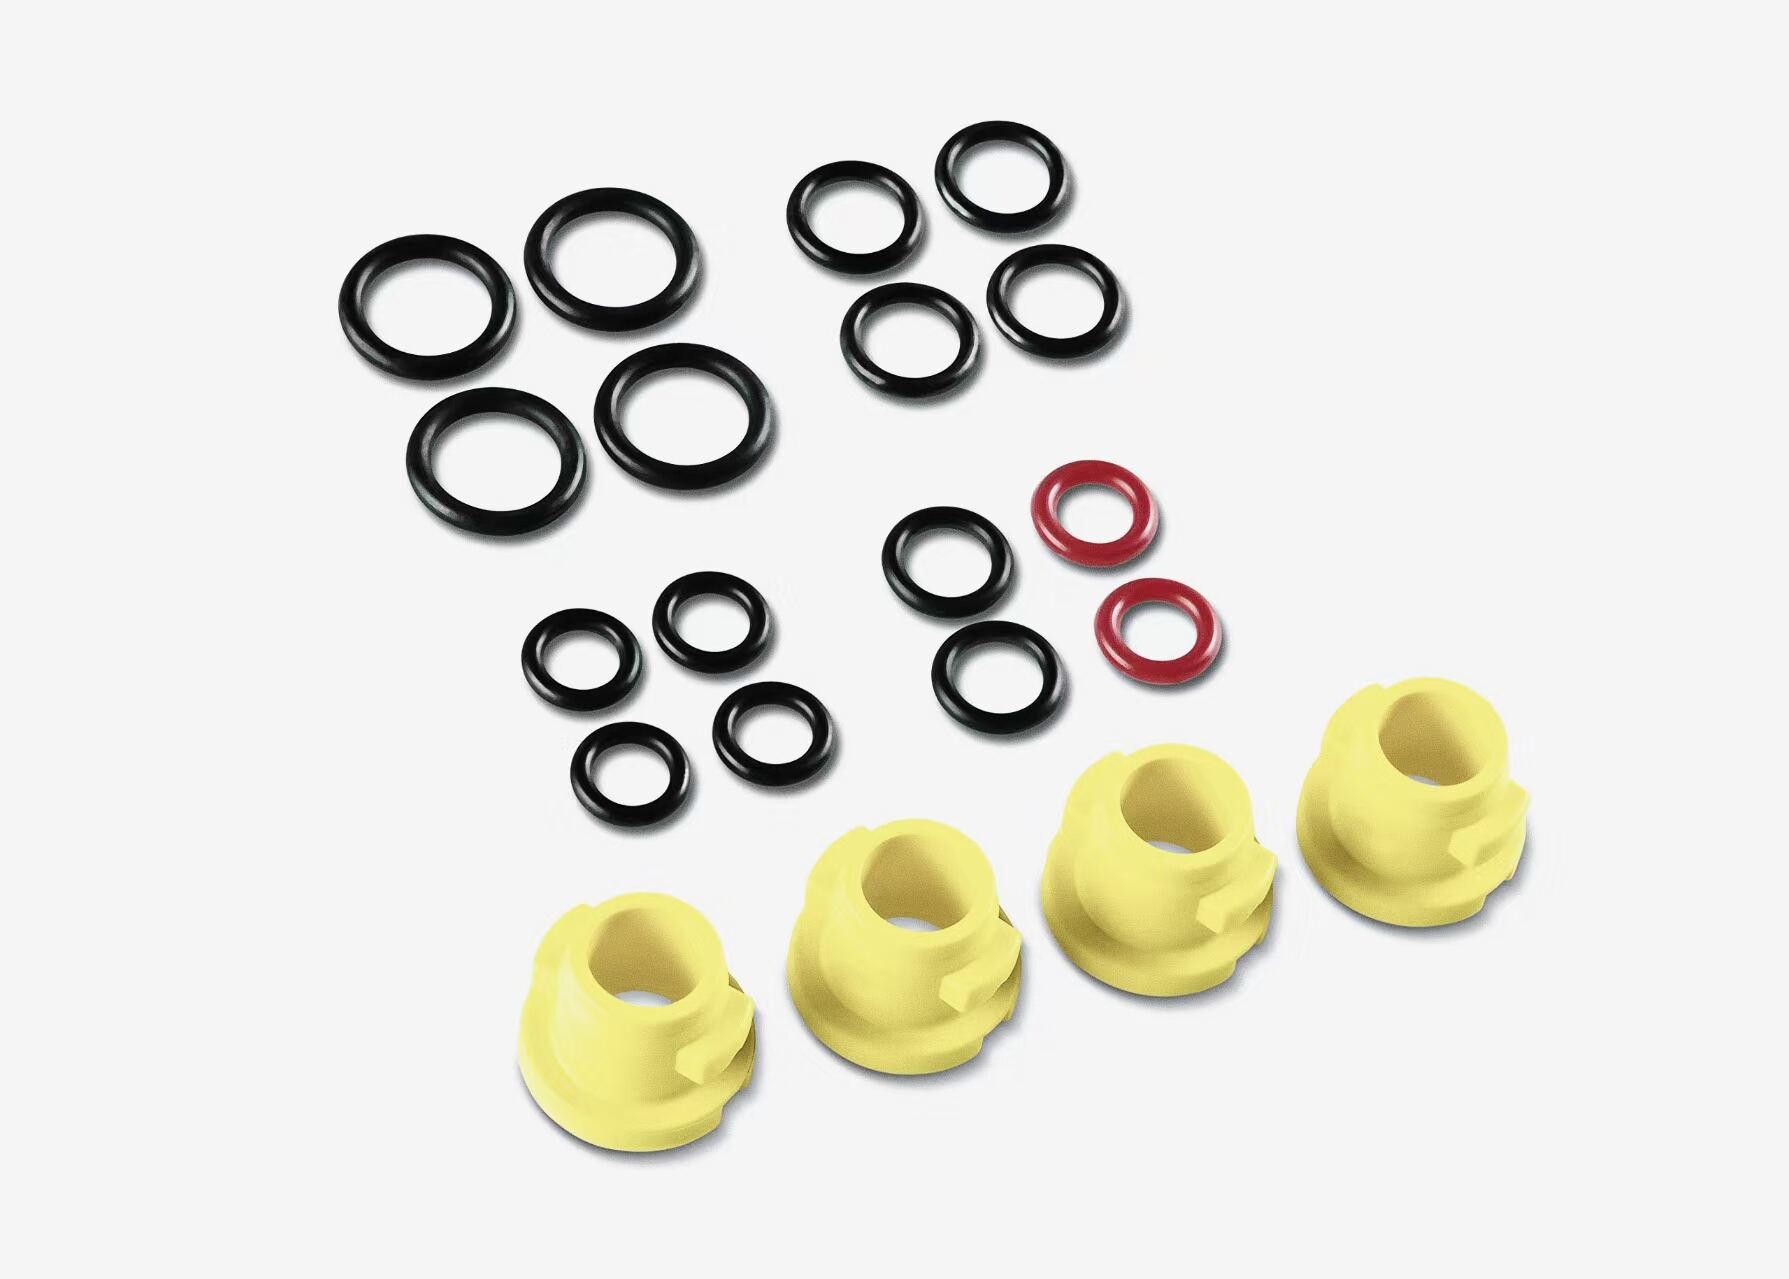
A complete hydraulic breaker seal kit contains several different seal types, and they do not all belong in the same maintenance category. Some can be replaced on-site by a trained operator with the tools already on the excavator. Others require workshop conditions, specialised equipment, and nitrogen handling procedures that cannot safely be improvised in the field. Treating the whole kit as a field job is how seals get installed backwards, bores get scored, and what started as a $200 maintenance task becomes a $2,000 rebuild.
The dividing line is straightforward: seals that sit at the external access points of the breaker — the front head, hose connections, dust seal groove — are field territory. Seals that sit inside the pressurised cylinder body, around the piston, or at the valve assembly are workshop territory. The reason is not complexity alone. It is cleanliness. Even a small particle introduced into the cylinder bore during piston seal replacement will score the bore surface within the first ten operating minutes, generating metal swarf that then circulates through the hydraulic system. That contamination event costs far more than the original seal job.
Knowing the boundary in advance also changes the procurement decision. If the only seals failing are the dust seal and the O-rings at the hose ports, the job requires a clean rag, the appropriate O-ring from the kit, and thirty minutes on-site. Ordering a full seal kit and arranging workshop time for that scope is unnecessary. Conversely, if oil is weeping at the front head and impact energy has dropped — signs of piston seal degradation — attempting a field fix without a workshop misses the actual failure zone entirely.
Four Seal Positions — Field or Workshop, and Why
The table maps four seal positions from the most accessible to the deepest internal, with a field-replaceable verdict, the correct procedure without specialist tools, and the specific failure that results from the most common error.
|
Seal Position |
Field Replaceable? |
Correct Procedure (no specialist tools) |
Error to Avoid |
|
Dust seal & front wiper |
Yes — field replaceable |
Remove chisel, slide off retainer, pull worn seal from groove; clean groove with clean rag; press new seal in by hand with correct orientation (lip faces outward) |
Most common field replacement; no disassembly of the main body required |
|
O-rings at hose connections |
Yes — field replaceable |
Depressurise fully; disconnect hose; replace O-ring; reconnect and run at low pressure for 60 seconds before full operation |
Use only the correct O-ring from the kit — a slightly undersized substitute will extrude under pressure within one shift |
|
Inner bushing (tool guide) |
Yes on Epiroc SB range; model-dependent elsewhere |
Epiroc SB 52–552: remove retainer bars with standard hand tools, slide out worn bushing, press in new one — no press fit required by design |
On most other brands, inner bushing removal requires a hydraulic press; attempting it with a hammer and drift damages the bore seat |
|
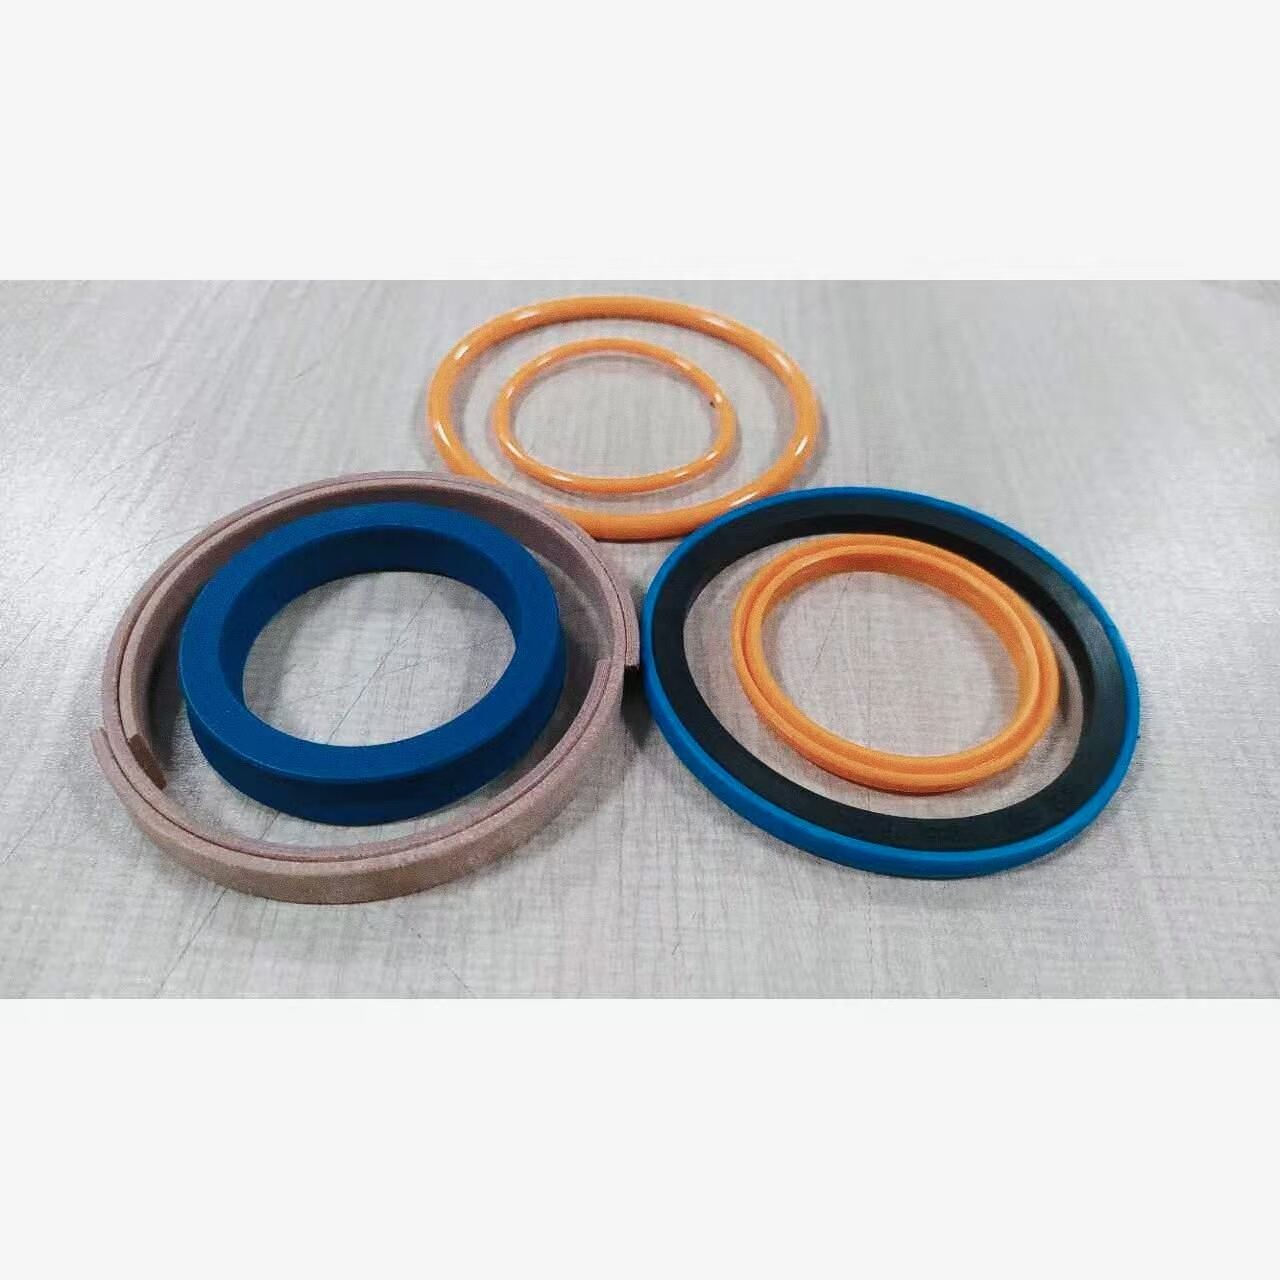
Piston seals & buffer seals |
No — workshop only |
Requires full back-head separation, nitrogen discharge, piston extraction, and clean-room reassembly; incorrect orientation causes immediate failure on restart |
A U-cup seal installed backwards leaks from the first stroke; if impact energy appears restored briefly then drops, reversed seals are the likely cause |
The Three Conditions That Make Field Seal Work Actually Work
Cleanliness is not a preference — it is the determining factor between a successful field seal replacement and a contamination event that damages components far more expensive than the seals themselves. Before removing any fitting, hose, or retainer, the work area around the joint must be clean. Not 'wiped with a glove' clean. Clean enough that no grit falls into the port when the connection is broken. On a dusty quarry site, that means covering the work zone with a clean rag or tarpaulin, cleaning the external surfaces of the breaker with a damp cloth before any disassembly starts, and having clean plugs or caps ready to immediately cover any open port. The hydraulic system does not distinguish between a particle introduced during operation and one introduced during maintenance.
Seal orientation is the second condition, and it fails more often than cleanliness in field replacements. A U-cup seal has a pressure side and a non-pressure side — the open lip of the U must face the hydraulic pressure source. Install it reversed and it does not seal; it vents pressure rather than containing it. The symptom on restart is immediate: the impact energy appears at zero or near-zero, and the oil return shows hydraulic flow without resistance. Some operators detect this quickly; others run the unit for several minutes trying to diagnose the fault, pushing contaminated oil through a system that is now under no back-pressure restriction. Check orientation against the exploded view in the service manual before pressing any seal home.
The third condition is completing the job as a kit rather than replacing individual seals piecemeal. When one seal at an accessible position has failed, the adjacent seals have been operating under the same conditions for the same number of hours. Replacing only the obviously failed item and leaving the neighbours means returning to the same job six weeks later — usually at a less convenient time. A complete front-head seal kit costs roughly the same as a single seal sourced separately. The additional twenty minutes to replace the full set at one opening is the cheapest insurance available at that point in the maintenance cycle.