

 EN
EN
 AR
AR CS
CS DA
DA NL
NL FI
FI FR
FR DE
DE EL
EL IT
IT JA
JA KO
KO NO
NO PL
PL PT
PT RO
RO RU
RU ES
ES SV
SV TL
TL IW
IW ID
ID LV
LV SR
SR SK
SK VI
VI HU
HU MT
MT TH
TH TR
TR FA
FA MS
MS GA
GA CY
CY IS
IS KA
KA UR
UR LA
LA TA
TA MY
MY
Læs om lækageplaceringen, inden du rører ved en skruenøgle
Olje på jorden under en hydraulisk hammer kan stamme fra fem forskellige steder. Hver placering peger på en anden rodårsag, kræver en anden reparation og har en anden akuthed. At behandle dem alle på samme måde – tage hammeren fra hinanden, udskifte tætsætningssættet og montere den igen – er grunden til, at samme hammer returnerer til værkstedet med samme lækage to måneder senere.
Lækager i hydrauliske hamre er ekstremt svære at spore, men at opdage dem tidligt kan spare mange unødvendige reparationer. Den første og lettest oversete forvirring: En lækage ved slangeindgangs- eller -udgangsporten vil til sidst løbe ned ad hammerens yderside og samle sig i mejselområdet. Det ser præcis ud som en fejl i forreste hovedtætning. Tør hammeren grundigt af, kør den i ti minutter og se derefter efter, hvor oljen først vises – ikke hvor den samler sig. At følge oljen opad til dens oprindelse er den eneste pålidelige metode.
Der er også en alvorlighedsgradsforskel, som de fleste operatører undervurderer. Oliesøm fra en karosserisøm er faktisk noget andet end olieånd ved yderkassen under drift. Den sidste betyder, at der er opstået indre tryk i huset – hvilket betyder, at støjen ikke længere kører på sine tætninger. Hver slag efter det tidspunkt er en støt, der kører mod en blank cylindervæg. Et oliesøm fra karosserisømmen giver dig et par skift til at planlægge en reparation. Olieånd giver dig resten af det nuværende slag, før du skal udskifte en cylinder.
Fem lækageplaceringer – årsag, hastighed og reparationsskitse
Tabellen nedenfor viser de fem placeringer, hvor en hydraulisk hammer lækker olie, den specifikke årsag til hver placering, hvor hurtigt der skal handles, og den korrekte reparationsskitse – herunder hvad der skal kontrolleres før montering for at undgå gentagne fejl.
|
Lækageplacering |
Akværnårsag |
Akut vigtighed |
Reparationsskitse |
|
Rundt om mejslen / arbejdsværktøjet |
Støvtese slitet igennem; snavs er trængt ind og har beskadiget U-formede tætningsringe; eller slitage på bushing, der forårsager værktøjssvaj, som revner tætningslæberne |
Stop inden for én skift. Indre mejselpasta bliver udvasket — øvre og nedre bushings kører tørre inden for timer, så snart denne tætningskæde svigter |
Udskift støvtesen og hele forreste hovedtætningskit samtidigt. Mål spil mellem bushing før montering — hvis spillet overstiger slitagegrænsen, skal bushings udskiftes samtidigt, ellers vil de nye tætninger igen svigte |
|
Cylinderkropens søm (mellem forreste, midterste og bageste hoved) |
Tab af gennemboltmoment pga. vibration; en sprække åbner sig ved sammenstødende flader, O-ringe ekstruderes og svigter |
Kan kortvarigt fortsætte, hvis der kun er svag udtrængning, men momentkontrol er akut — en sprække, der lader olie passere, er en sprække, der kan udvide sig under slagpåvirkning |
Tilspænd gennembolte til det angivne moment ved hjælp af kalibreret momentnøgle (over-tilspænding strækker bolte; under-tilspænding tillader gen-løsning). Udskift ekstruderede O-ringe før genmontering |
|
Ved slangeindgangs-/udgangsportene |
Slangeforbindelse løsnet pga. vibration; O-ring-tætning i forbindelsen fladt eller revnet; slangeklemmer trættet |
Stop ved dråbedannelse — slangelækage ved indgangen fortolkes ofte forkert som en intern cylinderlækage (olie løber ned og samler sig ved mejselområdet) |
Rengør området først, og identificer derefter præcis port. Stram forbindelsen — men tjek, om O-ring-fladetætningen skal udskiftes, da stramning af en beskadiget forbindelse ikke vil holde |
|
Ved ventilmontagen / rettningsventilens base |
O-ring på rettningsventilens base beskadiget; ventilklokkens tilspændingsflade korroderet eller ridset |
Langsom lækage, men signalerer risiko for intern forurening — snavset olie fra ventilområdet cirkulerer gennem cylinderen |
Udskift O-ringen på rettningsventilens base. Inspectér tilspændingsfladen for ridser før montering igen; en ridset flade kræver polering eller udskiftning |
|
Olieskum rundt om ydre kappe under drift |
Lækage i intern tætning, der skaber tryk inde i den ydre kappe; olie slipper ud som skum gennem udluftningsvejen |
Stop med det samme. Intern tætningsfejl betyder, at stemlen ikke kører på sine tætninger — den skraber mod cylinderens væg ved hver slag |
Der kræves en fuldstændig intern inspektion. Kør ikke videre — cylinderens skrabning kræver en omfattende reparation; at opdage det her forhindrer yderligere skade |
Hvad går galt ved reparationen — og hvordan undgår man det
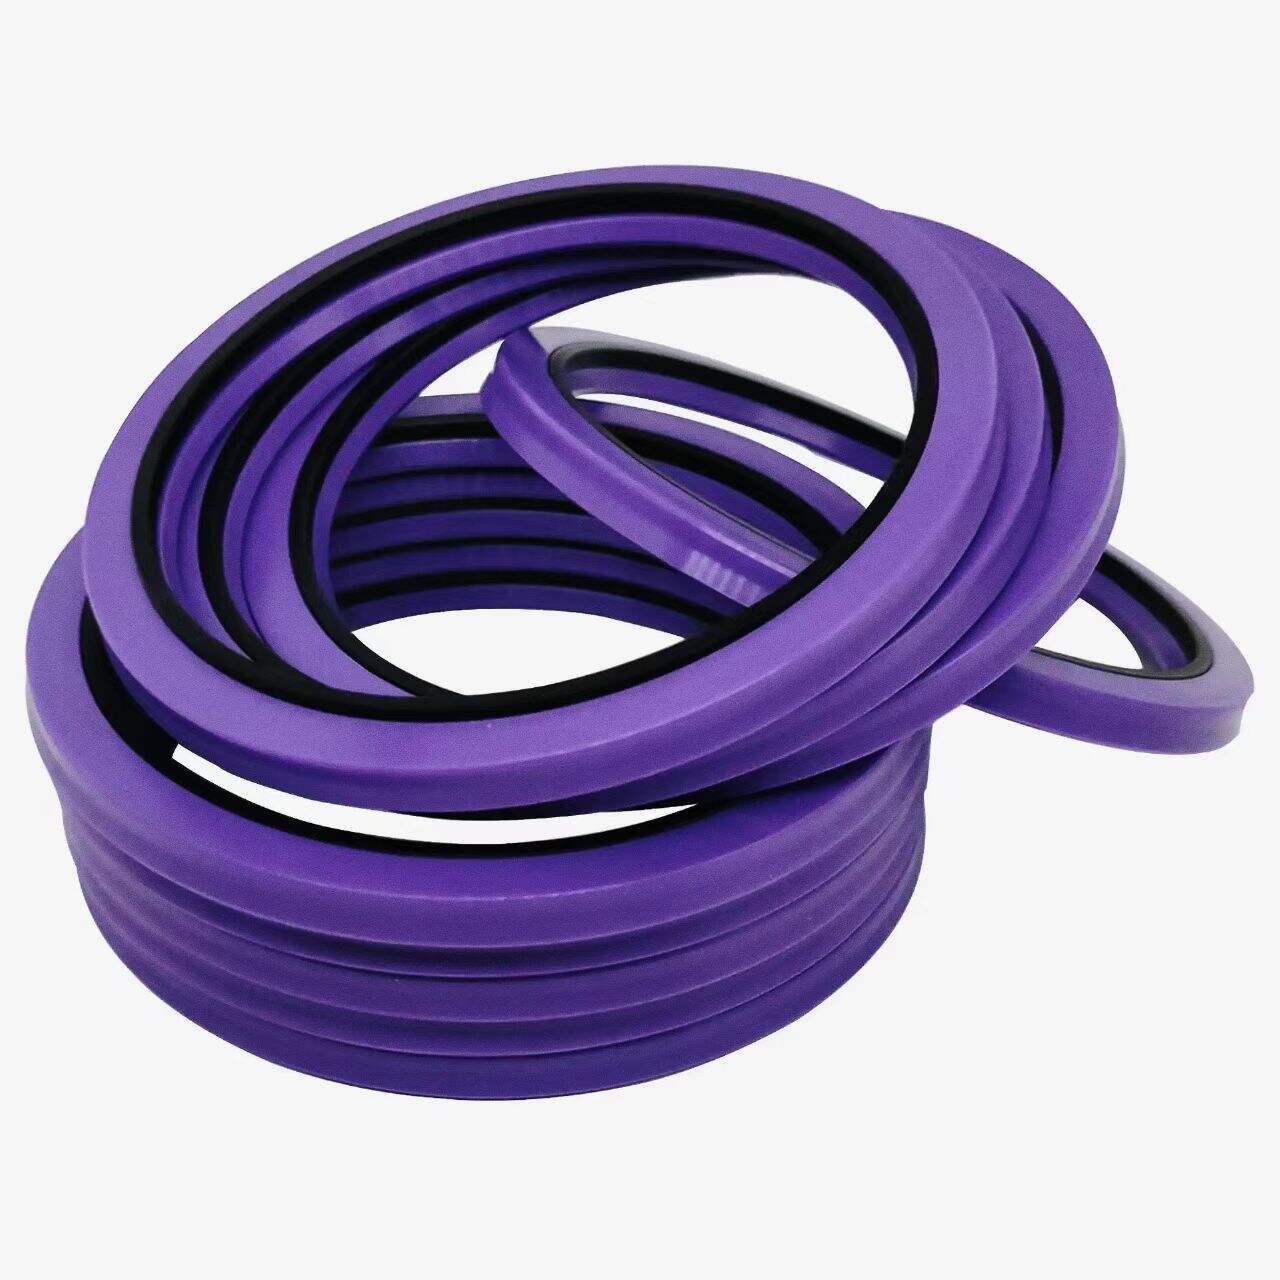
Den mest almindelige repareringsfejl er at udskifte kun den tætning, der tydeligt er defekt. Feltdata viser konsekvent, at 40–50 % af lekkager efter reparation skyldes, at tilstødende tætninger forstyrres under demonteringen. Et komplet tætningskit til forreste hoved koster mindre end en ny demontering. Når hammeren demonteres, installeres det komplette kit. Der er ingen god grund til at udføre en delvis tætningsudskiftning.
Før montering af den nye kolvestopring skal der påføres en jævn lag smørelolie for at forhindre tør gnidning ved den første slagcyklus. Monter kolven langsomt og lodret – en kolv, der sættes ind i en vinkel, beskadiger den nye stopringslæbe ved cylinderborens kant. Skaden er usynlig, indtil aggregatet er i drift, hvilket er grunden til, at et genmonteret brækkerværktøj, der lækker fra samme sted inden for de første ti driftstimer, næsten altid skyldes forkert monteringsvinkel på kolven og ikke en defekt stopring.
Momentet for gennemskruer er det specifikke punkt, hvor monteringsinstruktionerne oftest ignoreres. Ved genmontering skal du sikre dig, at alle møtrikker på gennemstængerne strammes med samme moment. Hvis én skrue er mere strammet end de andre, vil den ujævne klemkraft deformere cylindervendefladerne, skabe en delvis åbning ved O-ringens sæde og – i værste fald – knække stangen under drift. Stram alle skruer med hånden, så de sidder lige dybt, og anvend derefter momentet gradvist i et krydspattern ved hjælp af en kalibreret momentnøgle. Slagmaskiner er hurtige. De er også årsagen til, at brudstykker kommer tilbage med revnede karrosserier.
Et sidste punkt om driftstryk som årsag til gentagne lækkager: Hvis et tætningssæt svigter hurtigere end dets angivne interval — inden for 500 timer på en enhed, der er angivet til 1.500 — er det første spørgsmål, om bæredelenes hydrauliske ydelse ligger inden for knusereens specificerede område. At køre knuseren ved et tryk, der overstiger dets angivne maksimum, skaber interne trykspidser, der overskrider alle tætningsmaterialers elastiske grænse ved hver enkelt slag. Ingen tætningsmateriale kan klare dette i længere tid. Kontroller indstillingen af bæredelens trykaflastningsventil og tilbageledningens modtryk, inden tætningskvaliteten anklages.