

 EN
EN
 AR
AR CS
CS DA
DA NL
NL FI
FI FR
FR DE
DE EL
EL IT
IT JA
JA KO
KO NO
NO PL
PL PT
PT RO
RO RU
RU ES
ES SV
SV TL
TL IW
IW ID
ID LV
LV SR
SR SK
SK VI
VI HU
HU MT
MT TH
TH TR
TR FA
FA MS
MS GA
GA CY
CY IS
IS KA
KA UR
UR LA
LA TA
TA MY
MY
The hydraulic rock drill itself rarely causes a project to bleed money. The consumables do. Drill rods and bits are replaced far more often than the drifter they're attached to, and in production drilling—where a single longhole jumbo might cycle through dozens of rod strings per month—getting the material selection wrong compounds into significant cost per meter before anyone notices.
Thread fatigue, button wear, and rod bending from mismatched rotation speed are three failure modes that show up repeatedly on sites where consumables are ordered by price alone. This article covers what actually drives service life and how to match rod and bit specifications to the drill and formation they'll work in.
Why Drill Rods Fail Before They Should
Drill rods carry two types of load simultaneously: the impact stress wave traveling from shank to bit, and the rotational torque twisting the rod as the bit scrapes across the face. These are not compatible stresses. Impact loads are compressive and travel at high frequency; torque is torsional and continuous. The rod has to handle both without fatiguing at the thread joints, which is where most failures actually initiate.
Asymmetric thread designs—where the load flank and the stab flank carry different geometries—stiffen the joint under impact load while still allowing clean make-up and break-out. Premium rod manufacturers engineer the thread profile specifically for this dual-load condition. Using a 23CrNiMo or similar alloy steel gives sufficient toughness to absorb impact cycling while resisting the surface fatigue that starts as galling at thread contact faces.
Improper propulsion pressure is a hidden accelerator of rod failure. If the feed force is too low, the drill string loses contact with the rock between blows—the resulting rod whip at 40–60 Hz creates bending stress that heat treatment alone can't compensate for. Too high, and the bit jams, the rod takes full torque lock-up load, and thread stripping follows quickly.
Button Bit Carbide: Where Formation Hardness Determines the Right Grade
Three button shapes cover most top hammer applications: spherical, semi-ballistic, and conical. Spherical buttons are the default for medium-to-hard formation—good wear resistance, predictable regrinding interval. Semi-ballistic buttons penetrate faster in softer or fractured rock. Conical geometry concentrates stress for the hardest, most abrasive formations where maximum rock-breaking force per blow matters more than button life.
The carbide grade is the other variable. Gradient carbide grades (such as Sandvik's GC81) use a composition that transitions from a tougher core to a harder surface layer—so the button resists both impact fracture from inside and surface abrasion from outside. Self-hardening grades go further: the carbide hardens progressively under impact loading, which extends the first grinding interval significantly in hard granite or quartzite.
In practical terms, heavy-duty bits using premium carbide deliver up to twice the service life of standard bits in appropriate rock conditions. That multiplier only holds when the bit diameter is matched to the drill's rotation speed—carbide that's rotating faster than the per-blow angular reset it needs ends up re-striking the same wear scar instead of fresh rock.
Rod and Bit Selection by Application
|
Application |
Rod Type |
Thread Profile |
Bit Shape |
Typical Service Life |
|
Underground drifting |
Extension rod, MF |
T38 / T45 |
Spherical button |
300–500 m/bit |
|
Surface bench drilling |
Extension rod, MF |
T45 / T51 |
Semi-ballistic button |
400–700 m/bit |
|
Production longhole |
MF rod, coupled |
T51 / GT60 |
Spherical or conical |
200–400 m/bit |
|
Hard granite quarrying |
Heavy-duty extension |
T51 / R38 |
Conical button |
150–300 m/bit |
|
Bolting / anchoring |
Integral steel |
Taper / R25 |
Tapered bit |
High cycle, short depth |
Service life figures above are field references for competent rock conditions with correct drilling parameters. Fissured or clay-intruded formations can reduce these ranges by 30–50% due to irregular bit-to-rock contact and abrasive particle ingestion into the bit face.
Shank Adapters: The Transfer Point No One Replaces Soon Enough
The shank adapter sits between the piston and the first drill rod. It absorbs direct piston impact on the contact face while transmitting rotation torque into the rod string through the splines. Wear on the shank splines doesn't produce obvious symptoms—the adapter still fits, the drill still runs—but spline wear increases lateral play, which introduces rod deflection and accelerates fatigue at the first coupling.
On high-cycle underground production drills, shank adapters typically need inspection every 500 percussion hours and replacement before 1,000 hours regardless of visual condition. Running a worn shank on a COP 2238+ or Sandvik HL1560T is essentially paying premium maintenance costs on the drifter while destroying rod service life at the other end of the string.
Energy Loss in the String and What It Costs Per Meter
Every joint in the drill string is a potential energy loss point. A well-matched, clean thread connection transfers impact stress waves with minimal reflection. A worn or mismatched connection reflects part of the stress wave back into the drifter—reducing penetration per blow and increasing thermal cycling in the drifter housing seals.
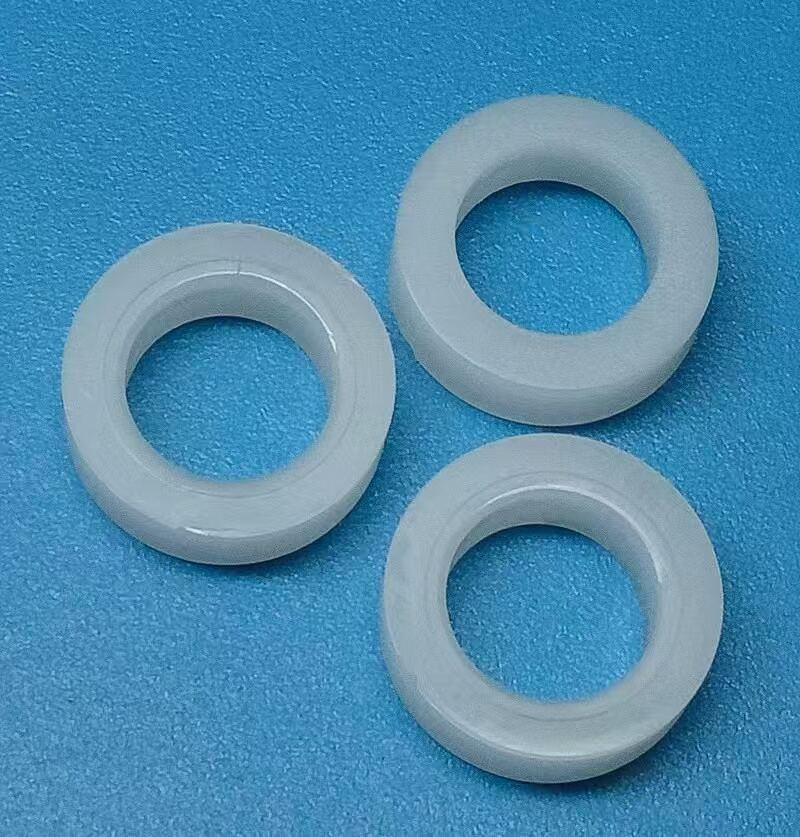
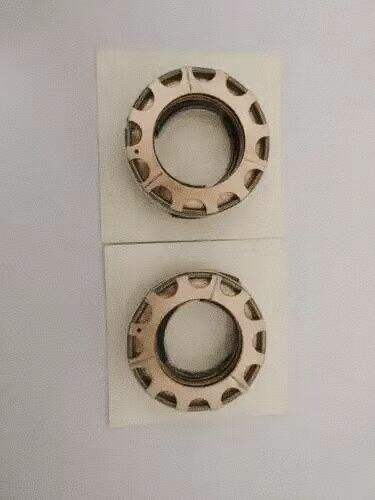
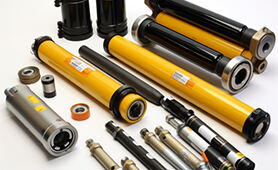
HOVOO supplies rock drill seal kits built to OEM tolerances for the major drifter brands running with top hammer rod strings—Epiroc COP, Sandvik HL/RD, and Furukawa models included. When rod string maintenance is scheduled, it's worth aligning the drifter seal inspection at the same interval; the same energy reflection that degrades rod life also increases cyclic stress on the percussion chamber seals. Full model references at hovooseal.com.