

 EN
EN
 AR
AR CS
CS DA
DA NL
NL FI
FI FR
FR DE
DE EL
EL IT
IT JA
JA KO
KO NO
NO PL
PL PT
PT RO
RO RU
RU ES
ES SV
SV TL
TL IW
IW ID
ID LV
LV SR
SR SK
SK VI
VI HU
HU MT
MT TH
TH TR
TR FA
FA MS
MS GA
GA CY
CY IS
IS KA
KA UR
UR LA
LA TA
TA MY
MY
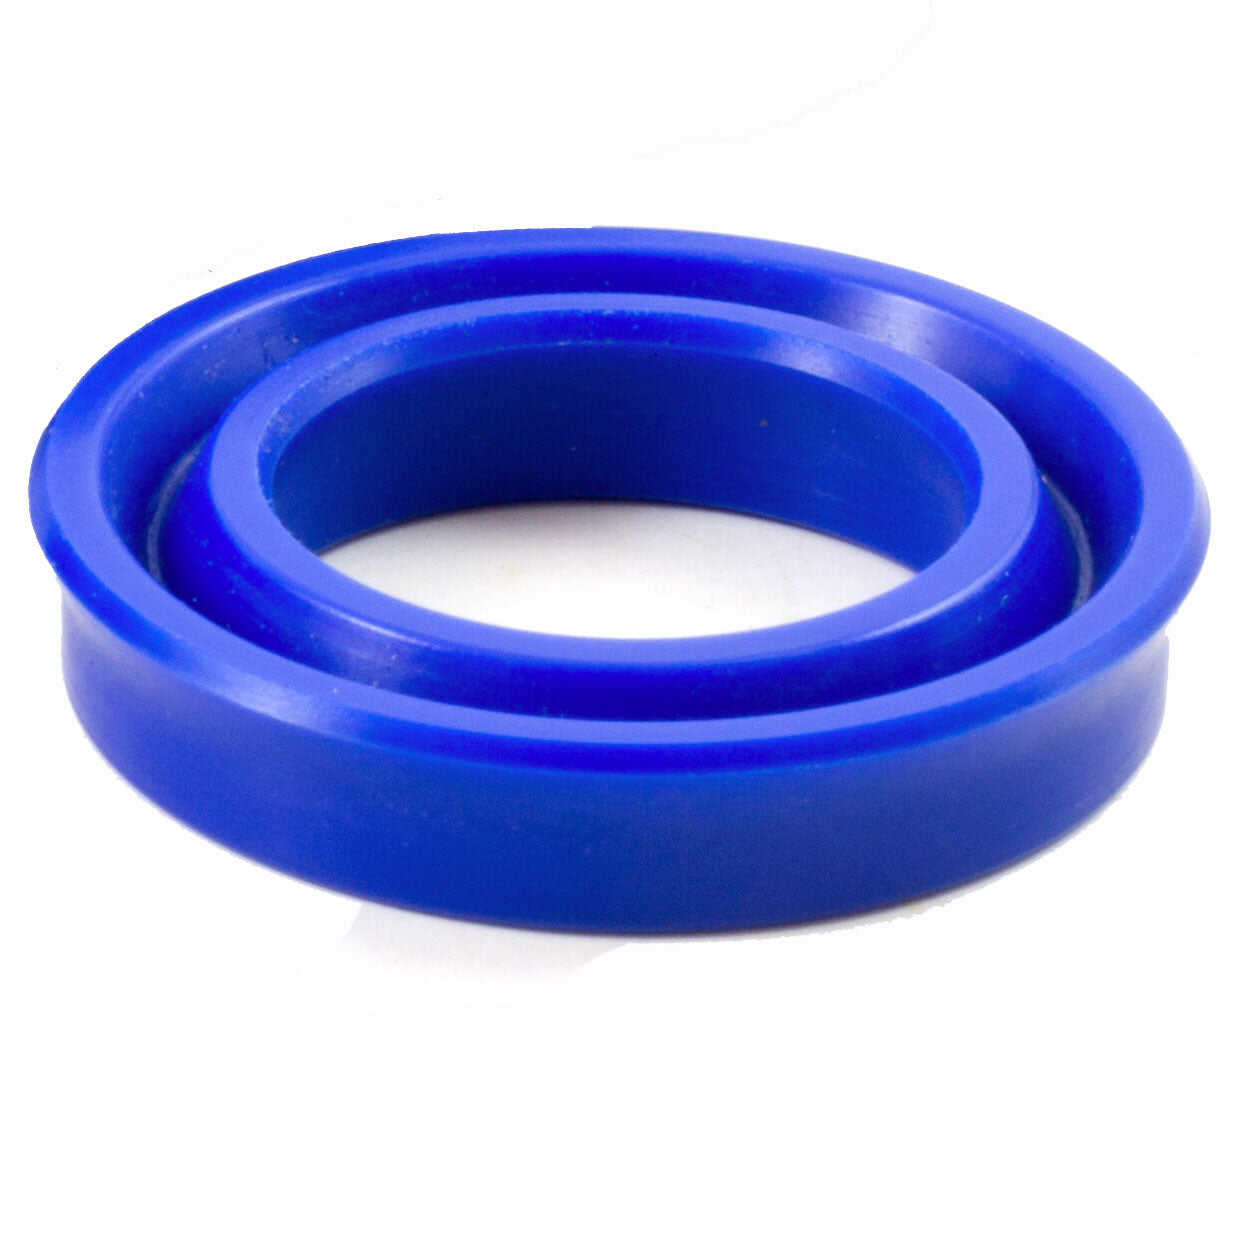
O-ring spiral failure — the ring twists axially during installation and runs in a corkscrew path around the groove — is the failure mode most often attributed to a bad O-ring when it's almost always an installation technique error. It happens when the O-ring is stretched over a shaft and the stretching force isn't uniform around the circumference, causing one arc of the ring to advance faster than the other and twisting the cross-section. The twisted section creates a gap at the bore contact that allows bypass at 30–50 bar — well below percussion operating pressure — and the failure appears to be a seal quality issue.
Three techniques prevent spiral failure: first, never stretch an O-ring more than 3–5% of its nominal ID during installation over a shaft. Rings stretched beyond that threshold experience permanent deformation that predisposes them to spiral under dynamic pressure cycling. Second, use a cone guide or chamfered entry lead-in on any shaft or bore the O-ring must pass over — the chamfer distributes the stretching force evenly, preventing one arc from advancing faster. Third, rotate the installed ring one full turn by hand with light finger pressure after seating to confirm uniform cross-section around the groove. A twisted ring feels rough during this rotation; a correctly seated ring rotates smoothly.
O-Ring Distortion Prevention Checklist
|
Distortion Type |
Cause |
Prevention Method |
Detection Before Assembly |
|
Spiral twist (corkscrew path in groove) |
Uneven stretching over shaft during installation |
Use cone guide lead-in; stretch maximum 3–5% of nominal ID |
Rotate installed ring by hand — rough feel indicates twist |
|
Axial compression set (flat cross-section after storage) |
Storage in compressed position longer than 6 months |
Store O-rings free-hanging or flat, never in compressed stack |
Measure cross-section before installation — below −5% of nominal, discard |
|
Pinching at groove corner |
Sharp groove corner catching ring during compression |
Ensure groove corners are chamfered to minimum 0.2 mm radius |
Visual inspection of groove before ring insertion |
|
Extrusion at installation gap |
Gap between housing faces too wide during assembly — ring squeezed out |
Verify gap closes to below 0.08 mm at backup ring before full torque |
Check gap with feeler gauge before housing bolt torquing |
|
Chemical distortion from wrong lubricant |
Petroleum grease contact with NBR before installation |
Use silicone grease only; apply thin even film — never flood |
Compare cross-section before and 5 minutes after lubricant application |
The one-turn rotation test after seating takes 8 seconds and catches spiral installation before the housing is closed. It's the most time-efficient quality check in the entire seal installation procedure. HOVOO supplies installation guides with specific O-ring handling procedures for each seal position in Atlas Copco and Sandvik drifter kits. Full specifications at hovooseal.com.