

 EN
EN
 AR
AR CS
CS DA
DA NL
NL FI
FI FR
FR DE
DE EL
EL IT
IT JA
JA KO
KO NO
NO PL
PL PT
PT RO
RO RU
RU ES
ES SV
SV TL
TL IW
IW ID
ID LV
LV SR
SR SK
SK VI
VI HU
HU MT
MT TH
TH TR
TR FA
FA MS
MS GA
GA CY
CY IS
IS KA
KA UR
UR LA
LA TA
TA MY
MY
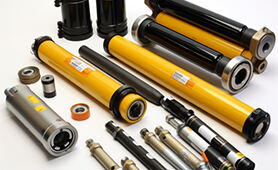
Most hydraulic breaker seal replacements on site fail not because the technician lacked skill, but because they skipped the preparation steps that separate a repair that lasts 1,000 hours from one that lasts 50. A seal kit replacement on a hydraulic breaker doesn't require a workshop full of specialised equipment. It requires a clean workspace, the right kit, and a methodical sequence. The two tools most commonly used wrong — a steel screwdriver to remove old seals and an impact wrench to torque through bolts — are both wrong for the same reason: they damage precision surfaces.
What You Actually Need
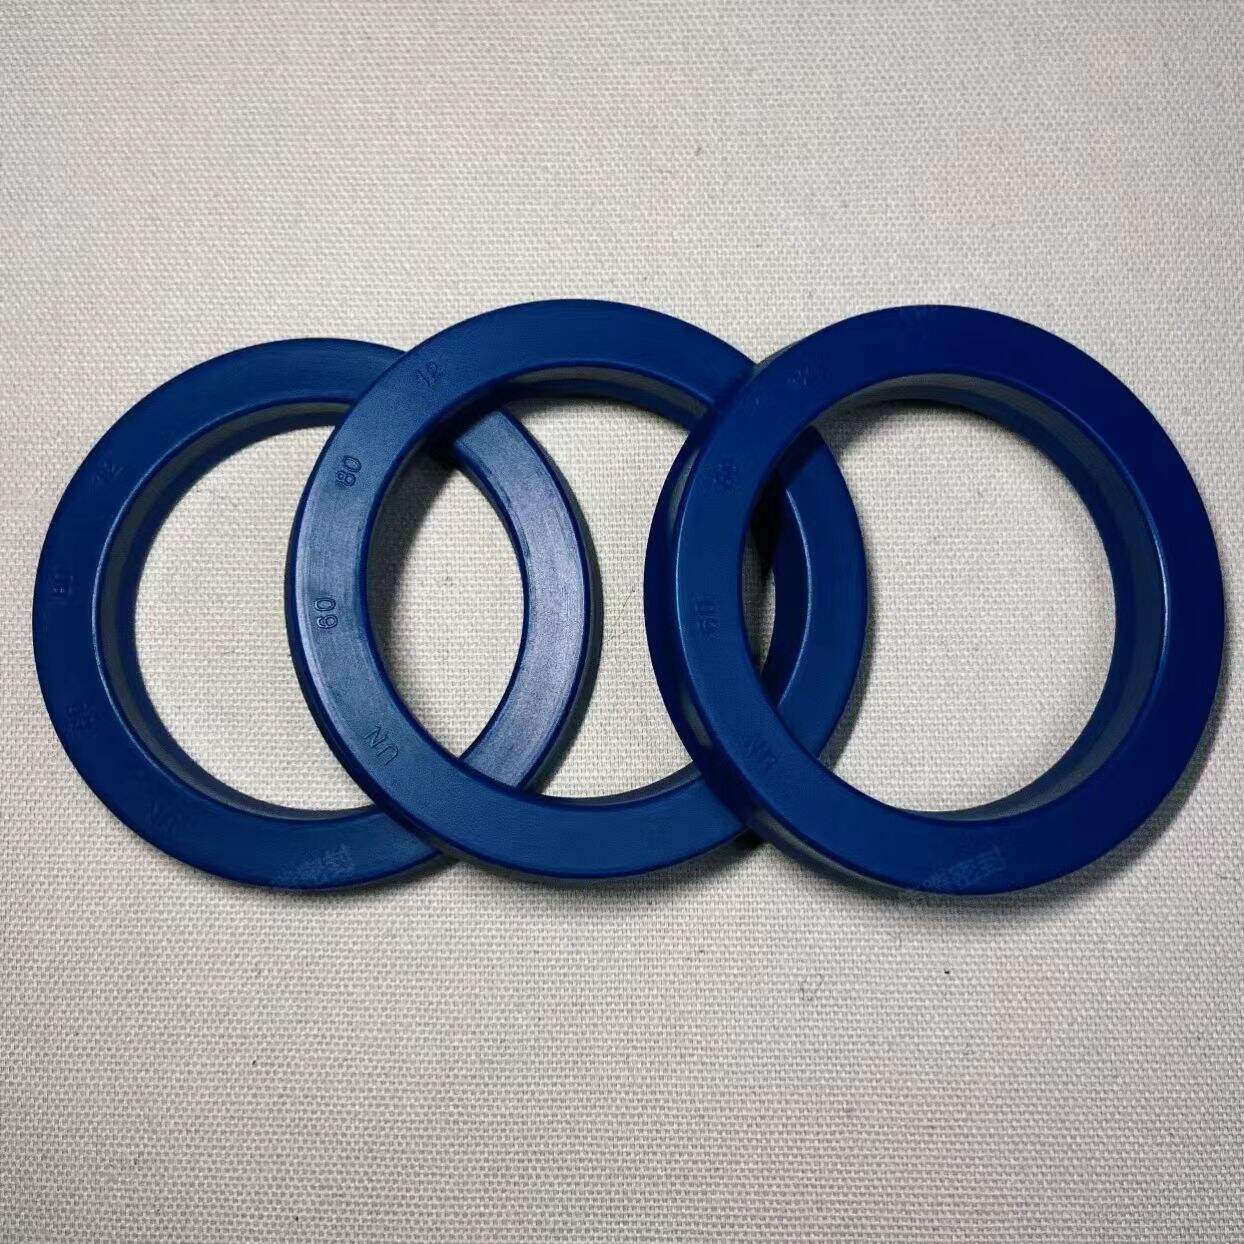
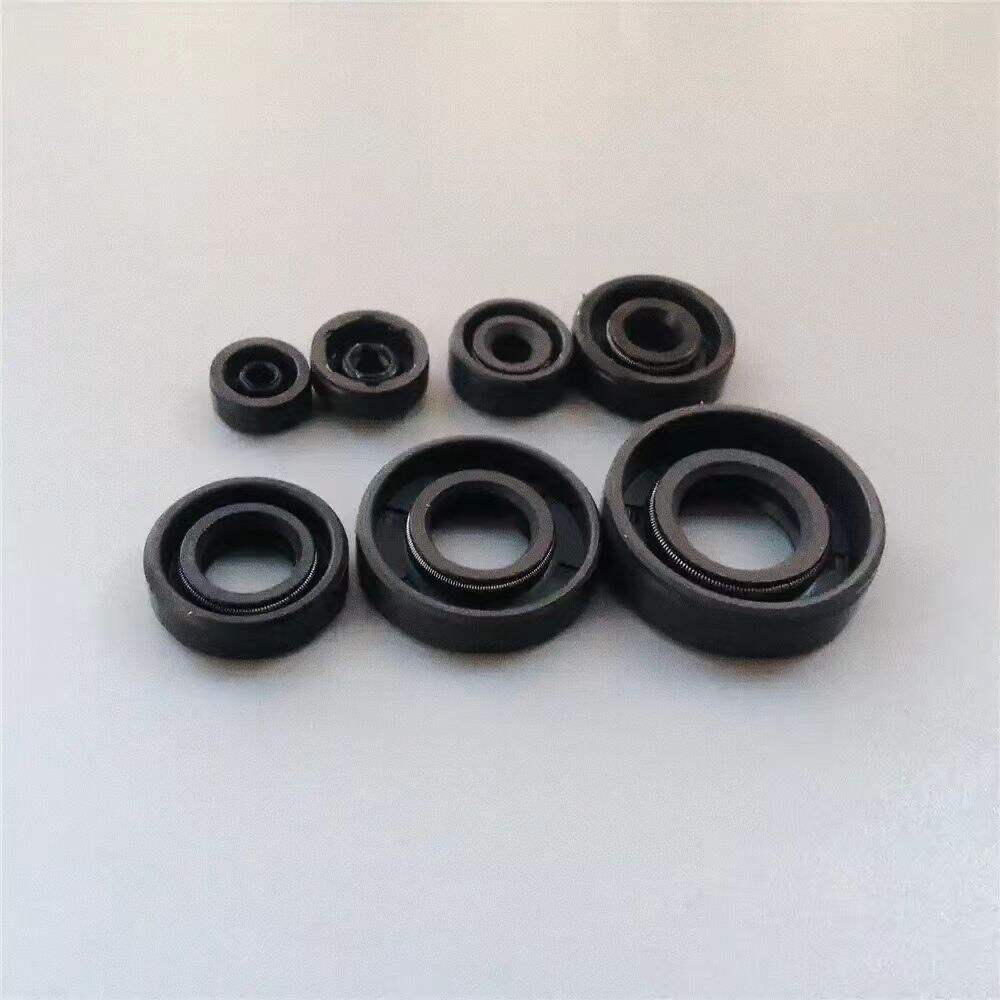
For a front-head dust seal and U-cup replacement, which covers the majority of field seal jobs: brass or plastic seal picks (not steel), clean rags and a solvent (diesel or hydraulic oil flush works), a flatjaw spanner for the through bolts, a torque wrench for reassembly, and a container for the drained hydraulic oil. A nitrogen charging kit if you're also checking accumulator pressure. That's it. The 'professional tools' most manufacturers list in their workshop manuals are for full internal rebuilds on the piston and valve assembly — not for the routine front-head seal change that accounts for 70–80% of field seal work.
One tool that genuinely helps: a bowl of hot water (60–70°C). PTFE and stiff polyurethane seals become significantly more pliable when warmed for a few minutes. Trying to install a cold PTFE seal into a tight groove by force damages the seal face. Warmed, it seats cleanly.
The Sequence That Matters
Depressurise first — always. Hydraulic oil at 200 bar will inject through skin at 100 PSI. Cycle the control lever after engine shutdown to release trapped pressure before touching any fitting. Remove the chisel, drain oil from the breaker body, and lay parts in order on a clean surface. Photograph the seal orientation before removing anything — which way the U-cup lip faces, where the backup ring sits relative to the O-ring. Backwards installation of a U-cup produces immediate leakage and requires a full disassembly to correct.
When removing old seals, pierce the O-ring with a plastic pick and lever it out of the groove. A steel screwdriver dragged along the groove creates a scratch that becomes a permanent leak path — no new seal will hold on a scored groove. After removal, flush the bore with solvent and inspect with a light. Scoring deeper than a fingernail requires honing or replacement; seal kits don't fix mechanical bore damage.
For piston installation: coat the piston and bore generously with hydraulic oil, then guide the piston in slowly and squarely. Off-square entry is how new seals get sliced before the unit is even reassembled. Torque through bolts in opposite-pair sequence to manufacturer specification — not by feel, not with an impact gun.
HOVOO and HOUFU supply complete seal kits with the correct material grades (TPU, NBR, FKM) for BEILITE and major-platform breakers. Every kit includes a reference diagram for orientation. Details at https://www.hovooseal.com/
Field Seal Replacement: 7-Step Sequence
|
Step |
What to do |
Why it matters |
|
1. Depressurise |
Release aux circuit pressure before any disconnection; cycle control lever |
Pressurised oil injection injury at 100 PSI; seals can't be seated safely under pressure |
|
2. Remove chisel + drain |
Remove tool bit; drain hydraulic oil from breaker body into clean container |
Clean workspace prevents contamination entering cylinder during seal work |
|
3. Loosen through bolts |
Use wrench in correct sequence (opposite pairs); lay parts in order |
Cross-removing bolts causes body distortion; order prevents mixed-up reassembly |
|
4. Remove old seals |
Use brass/plastic pick — never steel screwdriver; photograph before removal |
Steel damages groove; lip orientation photo prevents backwards installation |
|
5. Clean + inspect bore |
Solvent or diesel flush; inspect for scoring deeper than fingernail |
Scored bore makes new seals fail immediately; must be sleeved or replaced |
|
6. Install new seals |
Warm stiff PTFE seals in hot water; compress U-cup to kidney shape; no twists |
Cold PTFE won't seat; twisted U-cup leaks instantly; lip must face pressure source |
|
7. Lubricate + reassemble |
Coat piston and bore with hydraulic oil; guide piston in squarely; torque bolts to spec |
Dry entry slices new seals; off-square entry jams and cuts; under-torque causes leaks |
hydraulic breaker seal kit replacement field guide | change breaker seals without tools | U-cup installation orientation | PTFE seal installation warm | HOVOO | HOUFU | hovooseal.com